
Can't find the time to make a wreath? This idea is easy-peasy, I promise!
With little money and even less time. That's the motto for my Christmas decorations this year. A simple DIY idea makes it possible.
Every year, I resolve to make an Advent wreath. And every year, caught up in the pre-Christmas pseudo-stress, I realise my plan. This December, for once, I have made private pension provisions in good time. Even if not in the traditional sense. We now have a whole platter of candles on our table instead of the usual four pillar candles.
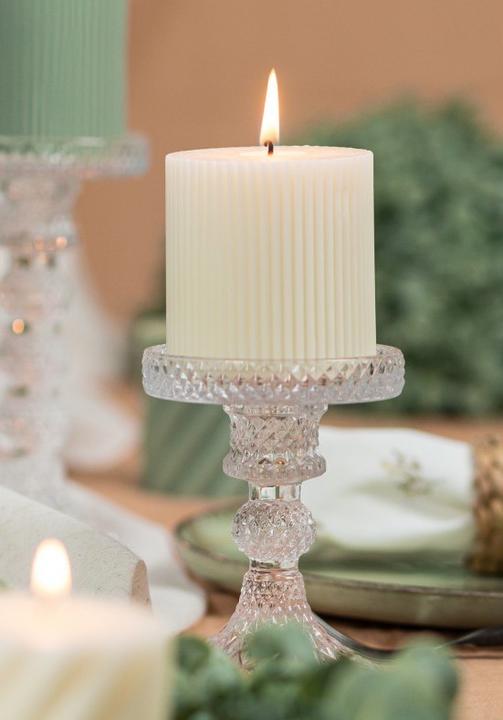
Sounds like a lot of work, but it's the simplest Christmas decoration I've seen in a long time. The principle? You group different candlesticks together on a cake platter. The highlight? All the elements have one thing in common: they are made of (crystal) glass. This makes the overall look harmonious despite the wild mix. It is also reminiscent of clinking ice. I got the idea from this video.
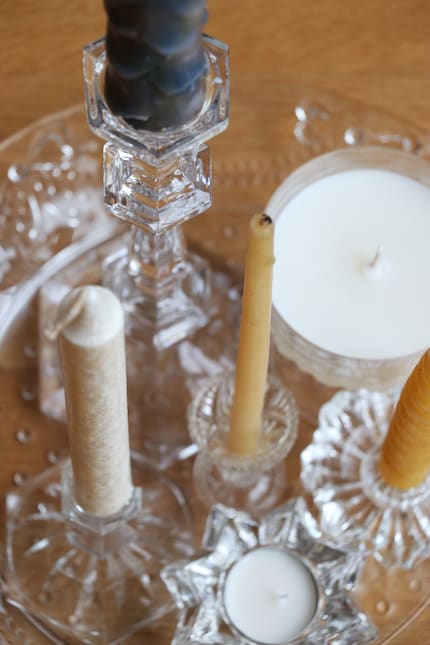
The arrangement not only costs you little time, but also - depending on how and where you source your material - hardly any money. What's more, the individual elements can be rearranged, taken apart and used in other settings and for other purposes. And: If you stick with the «colourless» icy version, the eye-catcher fits into almost any room.
How it works
This is what you need:
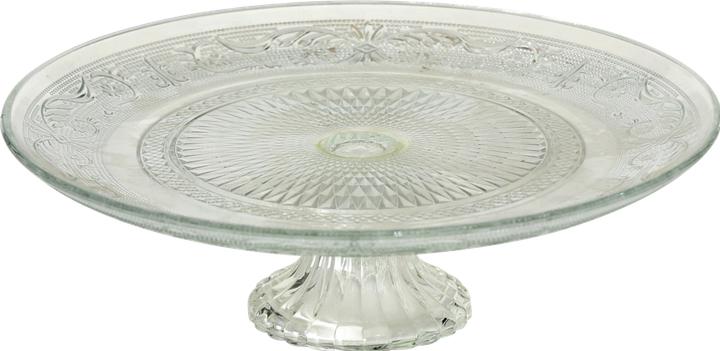
- A glass serving platter (round or oblong, up to you!)
- various glass candlesticks and holders
- various wax candles that fit into the corresponding stands
- Wax adhesive plates
- A knife
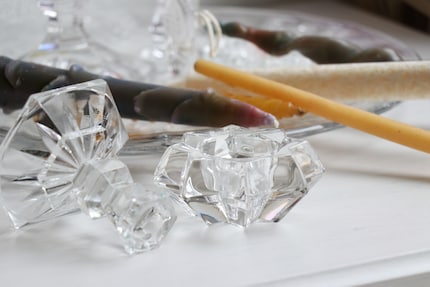
Step 1 - Gather your materials
For me, I went to the local second-hand shop, where I found what I was looking for quickly and cheaply. Your own cellar can also be a good first port of call, as can friends and family who might be able to lend you one or two things (or might even want to get rid of them).
The more different the individual pieces, the better. Therefore, opt for candle holders of different heights that are suitable for different wax sculptures (tea lights, stick, cylinder or narrow tree candles, etc.). This will add excitement to the overall picture later on. In my haul, for example, there is a beautiful spirit glass that can hold a tea light. Or - and this is what I decided to do - I could mould the glass into a candle with a wick and wax.
Of course, you don't have to limit yourself to transparent elements when choosing your objects, you can also go down the colourful route and implement a more eye-catching concept.
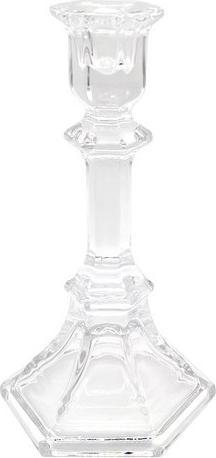
Not in the mood to go exploring? Here are a few examples from our range:
Step 2 - Remove wax residue
Some of my finds still bore the traces of days gone by. I used boiling hot water to remove the wax residue and then dried them thoroughly.

Step 3 - Arrange the individual elements
Place the elements on the serving platter and experiment with different constellations (if necessary, keep a photo as a reminder) until you are satisfied. Important: Make sure everything is stable and upright. If you feel more comfortable, you can also glue the individual objects to the glass plate.
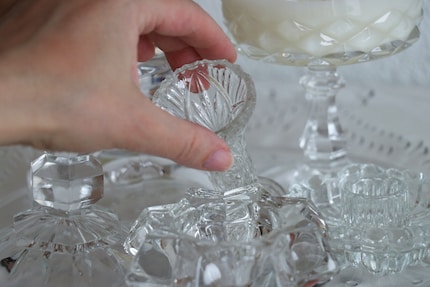
Step 4 - Place your candles
I had to trim the bottom of a few of my second-hand candles with a knife so that they fitted neatly into the stands. Additional stability is provided by so-called wax stickers. Attach them to the contact point so that the candle doesn't suddenly tip out of the holder. Better safe than sorry.


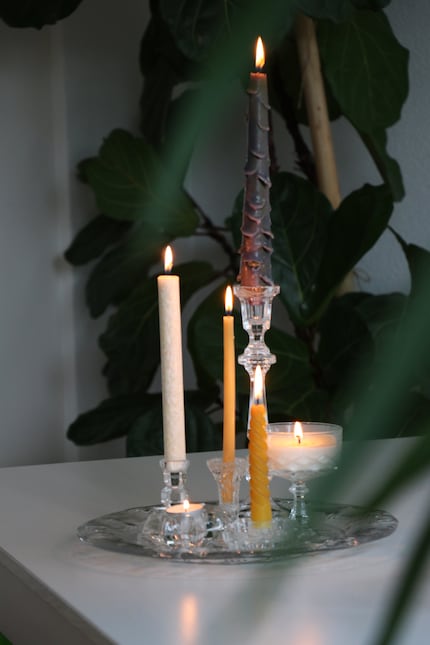
And the Christmas decorations are ready. I have to say, the whole thing looks even better in real life because the polished glass surfaces make the candlelight literally dance. Unfortunately, this choreography couldn't be captured so well with the camera ...
As a massive Disney fan, I see the world through rose-tinted glasses. I worship series from the 90s and consider mermaids a religion. When I’m not dancing in glitter rain, I’m either hanging out at pyjama parties or sitting at my make-up table. P.S. I love you, bacon, garlic and onions.
Practical solutions for everyday problems with technology, household hacks and much more.
Show all